
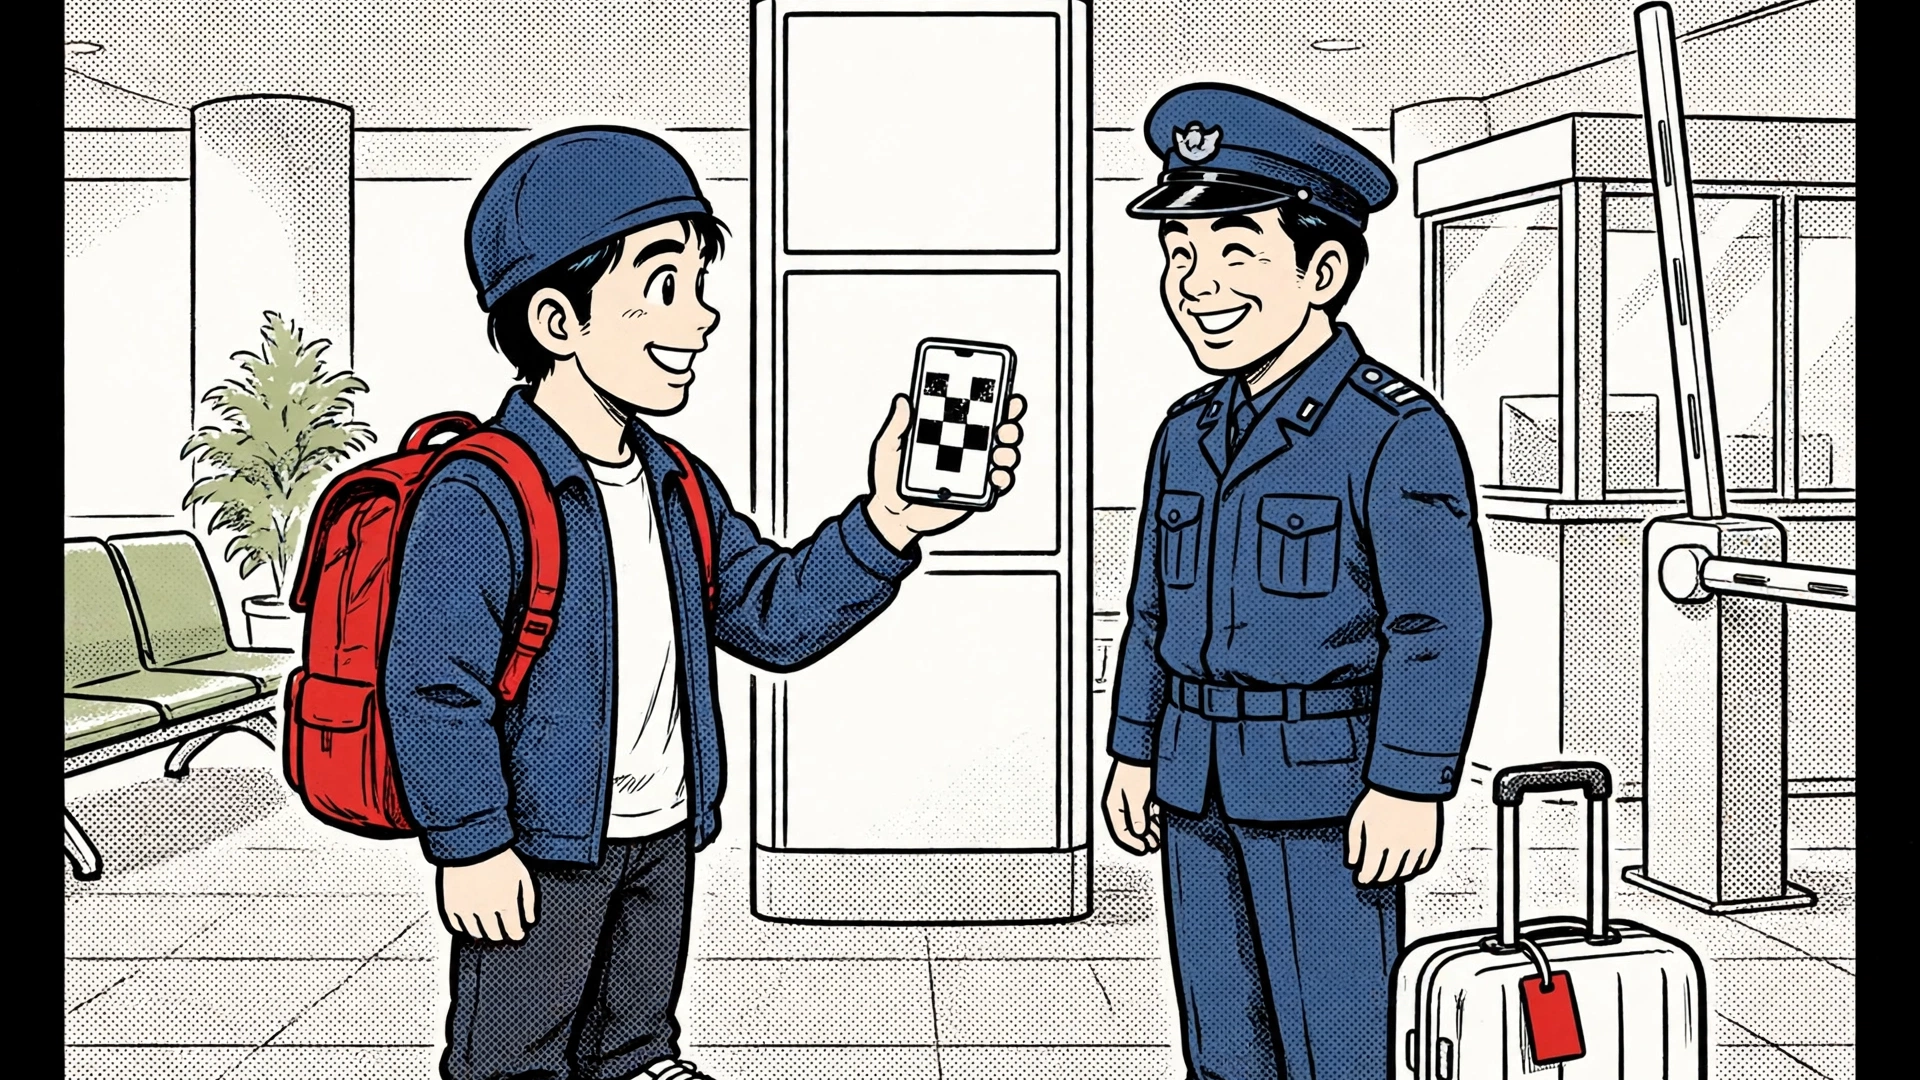
Visit Japan Web is the Japanese government’s free website for your arrival paperwork. Fill in your immigration and customs forms before you fly, and you get one QR code to show on arrival instead of handwriting two paper forms on the plane. It costs nothing to use, paper forms remain available if you prefer them, and it is not a visa — but for most visitors it makes the first hour in Japan noticeably smoother.
The service is run by Japan’s Digital Agency at vjw.digital.go.jp, the only official address. There is no official app, and any site or app that charges a fee for the same QR code is not the real one. This guide follows the Digital Agency, the Immigration Services Agency, and Japan Customs.
What Visit Japan Web Is — and What It Is Not
Since January 25, 2024, a single QR code covers both forms every foreign visitor completes on arrival: the foreigner entry record for immigration (the paper disembarkation card) and the customs declaration. The same account can also hold your tax-free shopping registration, which connects to the refund system that started on November 1, 2026 — see Japan’s Tax-Free Shopping Changed in November 2026: The New Refund System Explained.
| Visit Japan Web does | Visit Japan Web does not |
|---|---|
| Replace the paper disembarkation card and customs declaration with one QR code | Replace your passport — you still show it at immigration, and you still need a visa if your nationality requires one |
| Let you use the electronic customs terminals and e-Gates at seven major airports | Skip the fingerprints and face photo that foreign visitors give at immigration |
| Hold your tax-free shopping registration for use in shops | Work as an app — it is a website, used in your phone’s browser |
| Cover family members travelling with you — up to 10 people on one account, each with their own QR code | Replace travel insurance or any health-related procedure — sort out insurance before you fly |
The most important point: you do not have to use it. Paper arrival cards and customs forms are still handed out on many flights and are available in the arrivals hall at every Japanese airport — Japan Customs’ own guidance says to use the paper declaration form if you cannot use Visit Japan Web. What the code buys you is time — a shorter queue at immigration, and access to the automated customs lanes where they exist. The whole site is available in English — see How English-Friendly Is Japan in 2026? for where English will and will not carry you.
What You Need Before You Start
Have these four things ready and the process takes about 15 to 20 minutes.
- Your passport — the one you will travel on, with the name, number, nationality, date of birth, and expiry date exactly as printed. The form warns you if it has less than six months of validity left.
- An email address — for the account and the verification code.
- Your flight details — arrival date, airline, and flight number.
- Where you are staying first — the name, address, and phone number of your first hotel. Copy them from your booking confirmation rather than typing from memory.
Do it about a week before you fly, once the flight and first hotel are fixed: registering a new trip needs an internet connection, and the QR code only opens offline on a phone that has already logged in. You will also need data or Wi-Fi when you land to show the code — How to Stay Connected in Japan: SIM vs eSIM vs WiFi compares the options.
How to Register, Step by Step
The Digital Agency’s guide splits the process into five steps: four before you travel, and one at the airport.
Step 1: Create an account
Go to vjw.digital.go.jp and choose your language. Register with an email address and a password, then confirm the verification code sent to that address. Check the address bar before you type anything: the Digital Agency has warned about copycat sites that charge a fee. If a site asks for payment, or tells you to download an app, it is not Visit Japan Web.
Step 2: Register yourself and your passport
Choose the entry category for a foreign visitor, then add your passport. You can scan the photo page with your phone camera, which fills in the details for you, or type them in yourself. Either way, check every character against the passport before you save — the QR code carries exactly what you entered. The same page asks whether you want a tax-free QR code; say yes if you plan to shop tax-free.
Step 3: Add family members travelling with you (optional)
One account can register up to 10 people in total, including yourself, who go through immigration together, children included. Each person still gets their own QR code, so pick the right name when you display a code at the airport.
Step 4: Register your trip
Enter your arrival date, airline, flight number, and departure airport, then your first accommodation’s name, address, and phone number. The QR code is tied to this arrival, so update the entry if your flight changes.
Step 5: Fill in the immigration and customs declaration
Open the trip you registered and complete the “Immigration clearance and Customs declaration” section: purpose of visit, length of stay, and the standard security questions, then the customs questions, which match the paper form — goods you are carrying, cash over ¥1 million, and restricted items.
Step 6: Display your QR code
When everything shows as registered, tap to display the QR code on a smartphone or tablet — you can register on a computer, but the code has to be shown on a mobile device at the airport. Stay logged in on that phone: the official guidance says the code then opens even without an internet connection. A screenshot is also accepted as a backup, but display the code again and take a fresh one after any change.
At the Airport: What Actually Happens
You show the same QR code twice: first at immigration, then at customs. Follow the signs for foreign passport holders when you reach the arrivals hall.
Immigration. Show your passport and the QR code at the counter. The officer scans the code, takes your fingerprints and a face photo as usual, and puts the landing permission in your passport.
Customs. At seven airports — New Chitose, Narita, Haneda, Chubu Centrair, Kansai, Fukuoka, and Naha — hold your IC passport (the kind with a chip) and the QR code over the electronic declaration terminal, then walk through the e-Gate if you have nothing to declare. The terminal takes a face photo to match your passport, so remove masks and sunglasses, and every traveller, children included, does this one by one. At other airports, show the same QR code at the customs counter instead. Which of Tokyo’s two airports you land at changes the arrival experience in other ways too — Haneda vs Narita: Which Tokyo Airport Should You Choose? compares them.
If something goes wrong. Paper disembarkation cards and customs forms are still available in the arrivals hall, so a phone that dies or a code that will not load is an inconvenience, not a blocked entry. If your flight changed after you registered, update the trip in Visit Japan Web before you reach the immigration hall.
The Tax-Free Bonus: One Code, Two Jobs
The same account that holds your arrival QR code can also hold your tax-free shopping registration. In shops that accept it, you show the tax-free QR code instead of handing over your passport. And since the refund system started on November 1, 2026, the departure customs step for tax refunds can also be done through Visit Japan Web at the seven airports above, on dedicated Wi-Fi in the departure lobby. The full refund procedure — including the step you must complete before checking in your bags — is covered in Japan’s Tax-Free Shopping Changed in November 2026: The New Refund System Explained.
Watch Out for Fake Sites
This is the one warning worth repeating, because it costs real money. The Digital Agency has warned about look-alike websites and apps that charge a fee to “apply” for the same QR code. The rules are simple: the real service is free, it lives only at vjw.digital.go.jp, and there is no official app in any app store. Never upload your passport to an unfamiliar site, and never pay for a QR code that the government issues for free.
FAQ
Q: Is Visit Japan Web mandatory? What if I do not use it?
A: No. Paper arrival cards and customs forms are still handed out on many flights and are available in the arrivals hall — Japan Customs says to use the paper form if you cannot use Visit Japan Web. The forms themselves are compulsory, but completing them online is the recommended route.
Q: I do not have mobile data when I land. Can I still use the QR code?
A: Yes, with a little preparation. Register on a computer if you like, but display the code on your phone or tablet and stay logged in — the official guidance says the code then opens offline. A screenshot is also accepted as a backup, but take a fresh one after any change. If the phone fails entirely, the paper forms in the arrivals hall are the fallback.
Q: My flight changed after I registered. Do I need a new QR code?
A: Update the registered trip. The QR code is tied to the arrival you entered, so change the flight details in Visit Japan Web and display the code again — the same procedure page shows the updated code once the trip is corrected.
Final Checklist
- Go to the official site only — vjw.digital.go.jp. Free, no app, no fee. If a site charges, leave it.
- Create your account with an email address and confirm the verification code.
- Register your passport by camera scan or manual entry, and check every character against the photo page.
- Add family members travelling with you (up to 10 people in total on one account); each person gets their own QR code.
- Register your trip: arrival date, airline, flight number, and your first stay’s name, address, and phone number.
- Complete the immigration and customs declaration, and say yes to the tax-free QR code if you plan to shop tax-free.
- Display the QR code on your phone or tablet, stay logged in so it opens offline, and keep a screenshot as backup.
- At immigration, show your passport and the QR code; at customs, use the electronic terminal and e-Gate where available (New Chitose, Narita, Haneda, Chubu Centrair, Kansai, Fukuoka, Naha).
- If your flight changes, update the registered trip and display the code again.
- If anything fails at the airport, use the paper forms in the arrivals hall.
Official Information
- Digital Agency — Visit Japan Web (service overview, steps, and FAQ links)
- Visit Japan Web — Official site (vjw.digital.go.jp)
- Immigration Services Agency — Entry procedures
- Japan Customs — Procedures of Passenger Clearance (electronic declaration via Visit Japan Web, e-Gates at 7 airports)
Procedures and airport facilities change, so confirm time-sensitive details with the official sources above before you fly.
NEXT EPISODE: Keep Planning
- Japan’s Tax-Free Shopping Changed in November 2026: The New Refund System Explained — The same Visit Japan Web account also handles your tax-free shopping registration and the new refund step at departure.
- How to Stay Connected in Japan: SIM vs eSIM vs WiFi — Make sure your phone has data when you land, so the QR code is there when you need it.
- Haneda vs Narita: Which Tokyo Airport Should You Choose? — Your arrival airport decides how the queues and the trip into the city will feel.